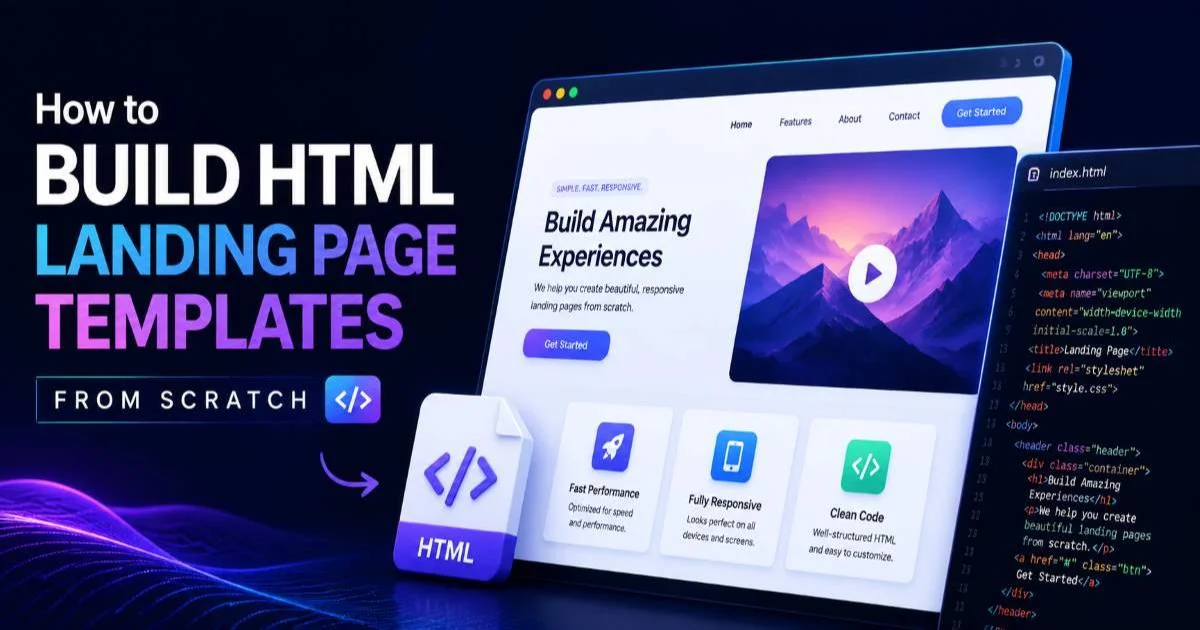
Learning to build HTML landing page templates from scratch is one of the most valuable skills a front-end developer can invest in.
Whether you're creating lead capture pages, product launches, or event registrations, understanding the foundational markup gives you complete control over performance, accessibility, and design. Pre-built frameworks are convenient, but they come with bloat, opinionated styling, and dependency chains that slow you down.
When you build HTML templates yourself, you write only what you need, and every line of code has a purpose. This tutorial walks you through four concrete steps to construct a production-ready landing page template. By the end, you'll have a reusable, responsive foundation that loads fast and converts well.
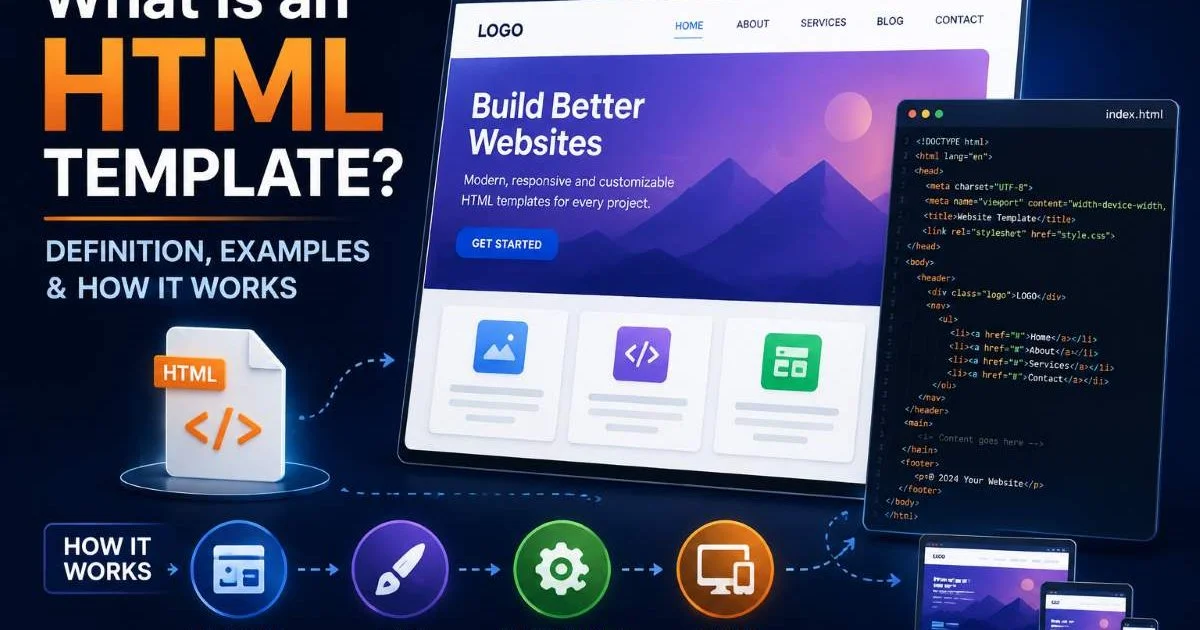
If you're new to the broader concept, our guide on what HTML templates are and how they work is a solid starting point.
Key Takeaways
- A well-structured HTML document starts with semantic elements that improve SEO and accessibility.
- Mobile-first CSS keeps your landing page fast on every device from the start.
- Form validation in HTML alone catches most common input errors before JavaScript runs.
- Performance auditing after each build step prevents compounding issues in production.
- Reusable template sections save hours on future landing page projects.
Step 1: Set Up the HTML Document Structure
Choosing Semantic Elements
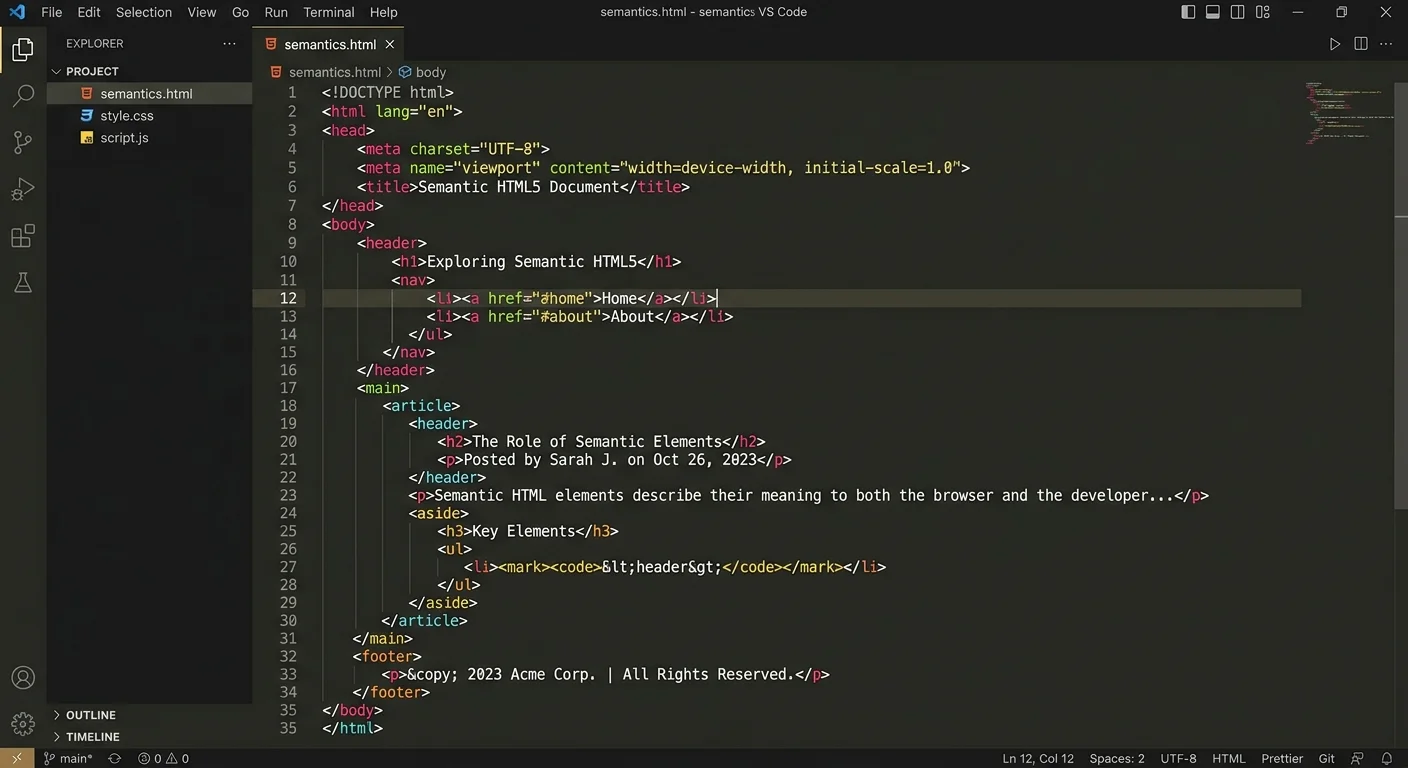
Every landing page template starts with a properly structured HTML5 document. Begin with the <!DOCTYPE html> declaration, set the language attribute on the <html> tag, and organize your content using semantic elements like <header>, <main>, <section>, and <footer>. These elements aren't just organizational; screen readers and search engine crawlers rely on them to understand page hierarchy. A <div> soup layout might look identical visually, but it tells browsers and assistive technologies nothing about content relationships.
Your <header> should contain the navigation and brand identity. Wrap your primary content in a single <main> element, then divide it into logical <section> blocks. Each section represents a distinct part of your landing page: hero, features, testimonials, pricing, and the final call to action. Using <article> inside sections is appropriate when the content could stand alone, like a testimonial card or a blog excerpt.
Run your initial HTML through the W3C Markup Validation Service before adding any CSS. Catching structural errors early saves debugging time later.
Meta Tags and Open Graph
The <head> section of your template needs more than a title tag. Include a meta description under 160 characters, a viewport meta tag for responsive behavior, and Open Graph tags for social sharing previews. If your landing page will be shared on LinkedIn or Twitter, the og:title, og:description, and og:image tags directly control how your page appears in feeds. Skipping these means the platform guesses, often poorly.
Add a canonical URL tag to prevent duplicate content issues, and link your stylesheet with a rel="stylesheet" reference. Consider adding a preconnect hint for any external font services you plan to use. At the end of this step, you should have a valid, well-formed HTML document with a clear semantic structure, proper metadata, and zero content yet. That blank canvas is your foundation.
Avoid loading more than two external font families. Each additional font adds roughly 100 to 300 KB to your page weight.
Step 2: Build HTML Sections for Hero and Content
The Hero Block
The hero section is the first thing visitors see, and it determines whether they scroll or bounce. When you build HTML for a hero block, keep it simple: a single <h1> headline, a supporting paragraph, and one primary CTA button. Resist the temptation to add sliders, auto-playing videos, or multiple competing messages. Research from the Nielsen Norman Group consistently shows that single, focused hero sections outperform cluttered alternatives in both engagement and conversion rate.
Wrap the hero in a <section> with a descriptive class name like hero or hero-banner. Your heading should be the only <h1> on the entire page. The supporting text should answer one question the visitor has, and the button should use a <button> or anchor element with clear, action-oriented text. "Start Free Trial" outperforms "Submit" every time because it communicates what happens next.
"A focused hero section with one headline and one CTA outperforms cluttered alternatives in both engagement and conversion."
Feature and Benefit Sections
Below the hero, build HTML sections that present features, benefits, or social proof. A three-column feature grid works well for SaaS products, while a stacked layout suits service-based pages. Use <h2> headings for each section title and <h3> for individual feature names. This hierarchy tells both users and search engines how your content relates. Keep paragraph text concise; landing pages aren't blog posts, and every sentence should push toward the conversion goal.
For testimonials, consider using the <blockquote> element with a <cite> tag. This is semantically correct and gives you styling hooks without extra classes. At the end of this step, your page should have a hero section, two to three content sections with headings, and placeholder text that follows a real content hierarchy. The visual styling comes next, but the markup must be right first.
Never skip heading levels. Going from H1 to H3 without an H2 breaks the document outline and confuses screen readers.
Step 3: Add Forms, Calls to Action, and Interactivity
HTML Form Best Practices
Most landing pages exist to collect information, so your form markup matters. Use the <form> element with a clear action attribute and appropriate method. Every input needs a visible <label> element, associated via the for attribute matching the input's id. Placeholder text is not a label substitute; it disappears on focus and fails accessibility requirements. HTML5 input types like email, tel, and url trigger the correct mobile keyboard and provide free browser validation.
Add the required attribute to mandatory fields, and use pattern for custom validation like phone number formats. The autocomplete attribute speeds up form completion, which directly impacts conversion rates on mobile devices. If you need to clean up markup that's been pasted from other sources, tools like VisionVix's HTML stripper can remove unwanted tags and inline styles quickly. Your form should be functional and accessible before any JavaScript enhancement.
Set autoComplete="email" on email fields and autoComplete="tel" on phone fields. This small detail can increase mobile form completion by up to 30%.
CTA Placement Strategy
Place your primary call to action in at least two locations: inside the hero section and again after your final content section. For longer landing pages, a third CTA near the middle prevents users from having to scroll back up. Each CTA button should use consistent wording and visual treatment. Using an anchor tag with role="button" is acceptable if it navigates to a form section, but true form submissions should use the <button> element.
| CTA Position | Average CTR | Best For |
|---|---|---|
| Above the fold (hero) | 3.5% to 5.2% | High-intent visitors |
| Mid-page (after features) | 2.1% to 3.8% | Visitors needing more info |
| Bottom of page | 1.8% to 2.9% | Fully convinced scrollers |
| Sticky header/footer | 2.5% to 4.0% | Long-form pages |
At the end of this step, your template should have a working form with proper validation, visible labels, accessible markup, and CTA buttons in strategic positions. Test form submission in multiple browsers before moving to optimization.
Step 4: Optimize, Test, and Prepare for Reuse
Performance Checklist
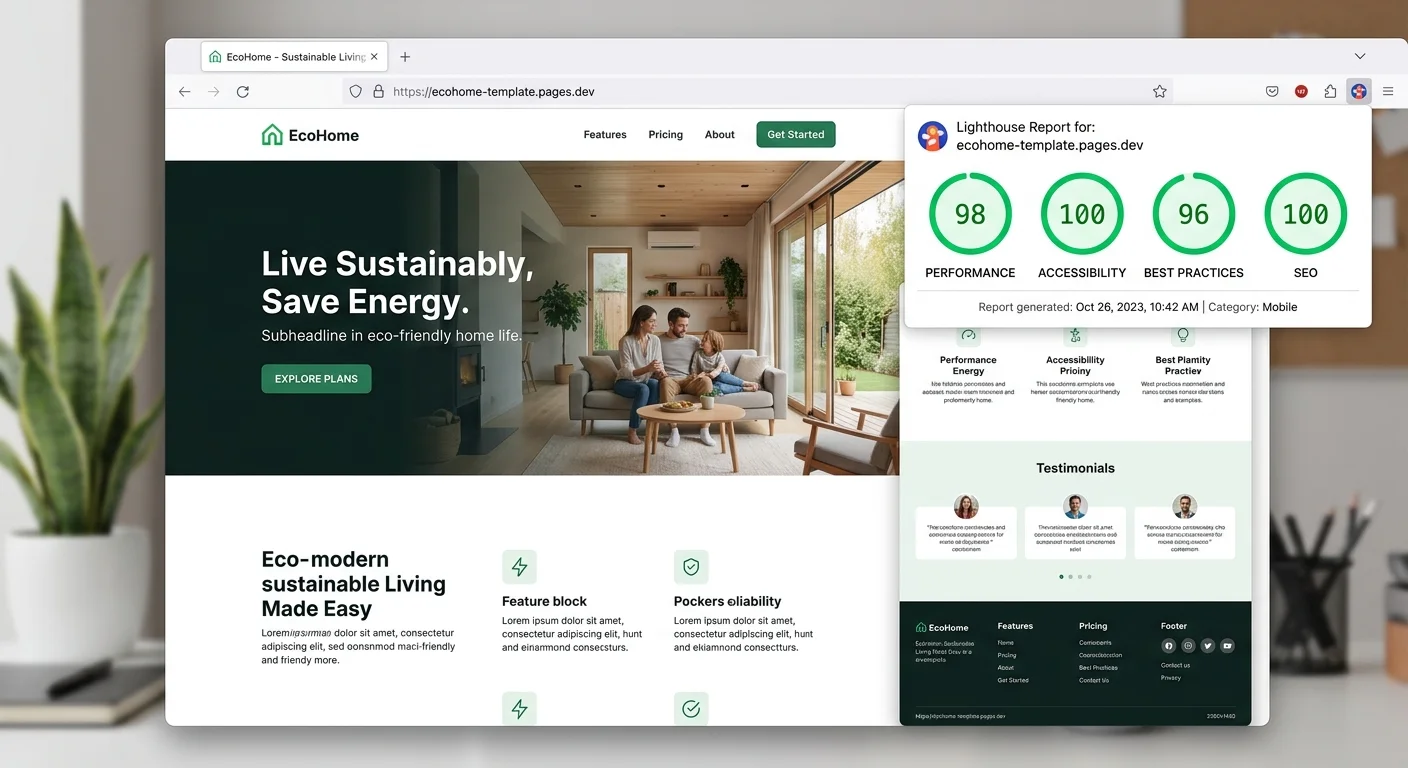
Once your landing page template has complete markup, run it through Google Lighthouse and aim for scores above 90 in Performance, Accessibility, Best Practices, and SEO. Common issues at this stage include missing alt attributes on images, low contrast ratios on text, and render-blocking resources in the <head>. Defer non-critical CSS and JavaScript using async or defer attributes. Compress images using modern formats like WebP, and add explicit width and height attributes to prevent layout shifts.
Validate your HTML one final time. Check that all ARIA roles are used correctly, that tab order follows a logical sequence, and that the page is fully navigable with a keyboard. Test on real devices, not just browser DevTools emulation. A template that passes automated checks but feels sluggish on a mid-range Android phone isn't ready for production. Build HTML with real-world conditions in mind, not just ideal scenarios.
Making Your Template Reusable
The real payoff of building from scratch is creating a template you can use again. Organize your CSS into modular files: one for base/reset styles, one for layout, one for components, and one for utilities. Use CSS custom properties for colors, spacing, and typography so that rebranding a template means changing a handful of variables. Comment your HTML sections clearly, marking where content should be swapped. Consider adding data attributes that a CMS or static site generator can populate dynamically.
Create a simple README file alongside your template that documents the section order, required assets, and any JavaScript dependencies. Store the template in a version-controlled repository so you can track changes and branch off for specific projects. At the end of this step, you should have a clean, validated, fast-loading landing page template with documented sections, modular CSS, and a structure ready for content injection. This is the template you will reach for on every new landing page project.
Name your CSS custom properties with a consistent prefix like --lp-primary-color so they don't conflict when the template is embedded in larger projects.
Frequently Asked Questions
?How do I validate my HTML structure before adding CSS?
?Is building HTML from scratch better than using a framework?
?How long does it realistically take to build a reusable HTML template?
?What happens if I skip the Open Graph meta tags on my landing page?
Final Thoughts
When you build HTML landing page templates from scratch, you gain a deep understanding of how every element affects performance, accessibility, and conversion. The four steps outlined here, from semantic structure to reusable optimization, give you a repeatable process for any project.
Your templates will load faster, rank better, and adapt more easily than any off-the-shelf alternative. Start with one template, refine it across projects, and you'll find that the time investment pays for itself within a few builds.
Disclaimer: Portions of this content may have been generated using AI tools to enhance clarity and brevity. While reviewed by a human, independent verification is encouraged.